Candidate Authentication
I confirm that the attached assessment is all my own work and does not include any work completed by anyone other than myself and sources have been appropriately referenced.
Finlay Mander
ON THIS PAGE: I have shown the creative process, through mind mapping my ideas, creating mood boards and sketches. There is also a proposal. I also made sure to document key stages throughout the 3D modelling stages for my assets, including the finished product.
Chosen media activity: I plan to create a 3D environment by using clips/screenshots taken from the films so that i can create my own mad max experience through the render.
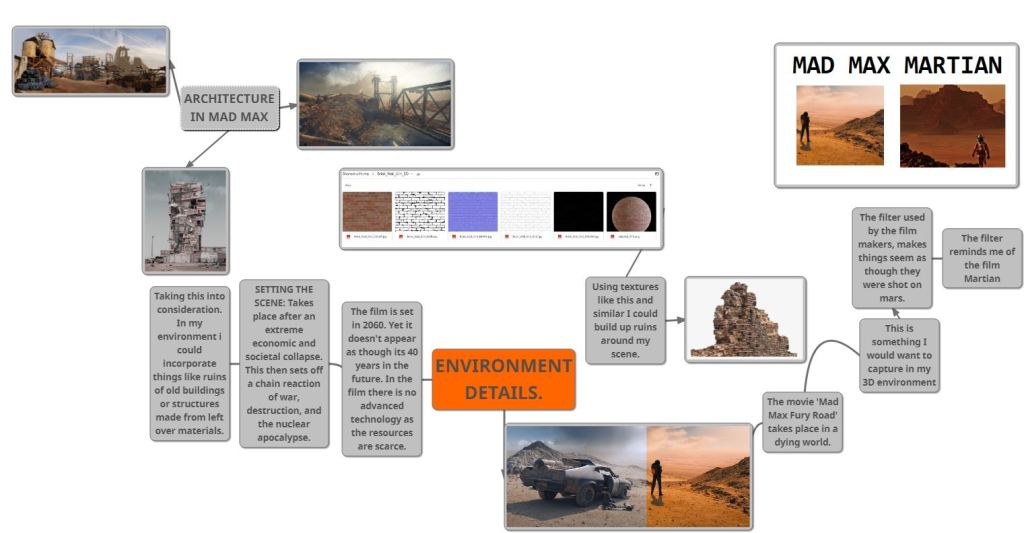
GAME ENVIRONMENT MIND MAPS MAD MAX FURY ROAD:

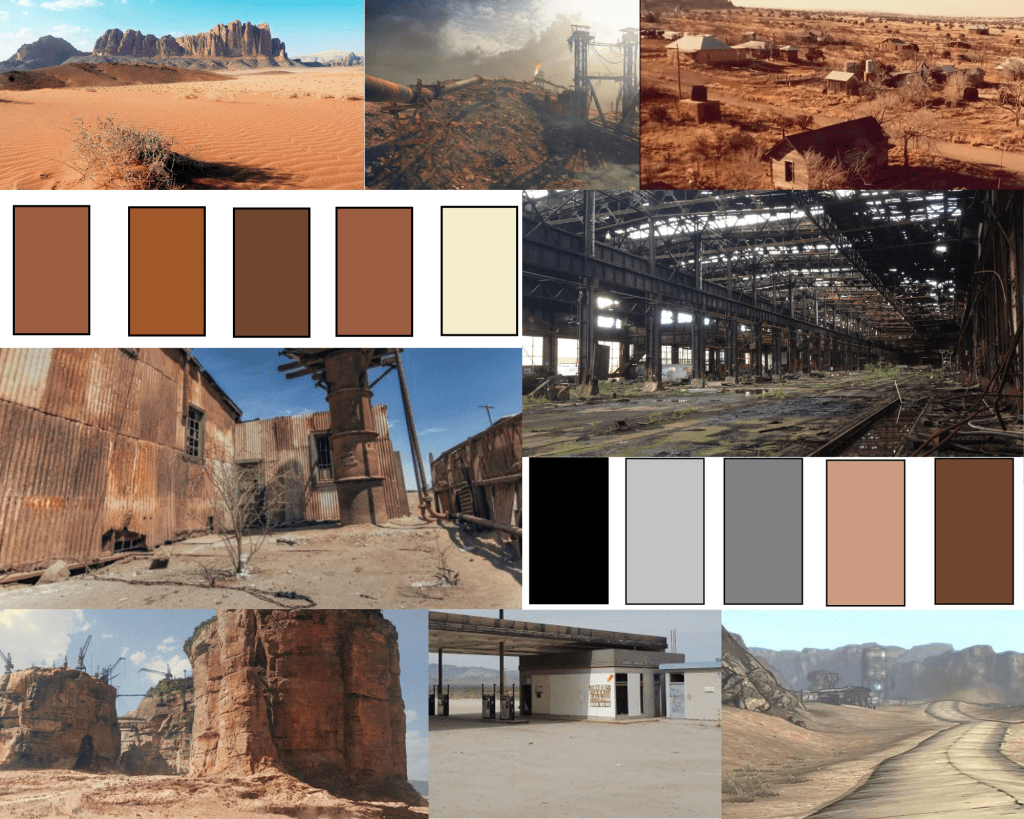
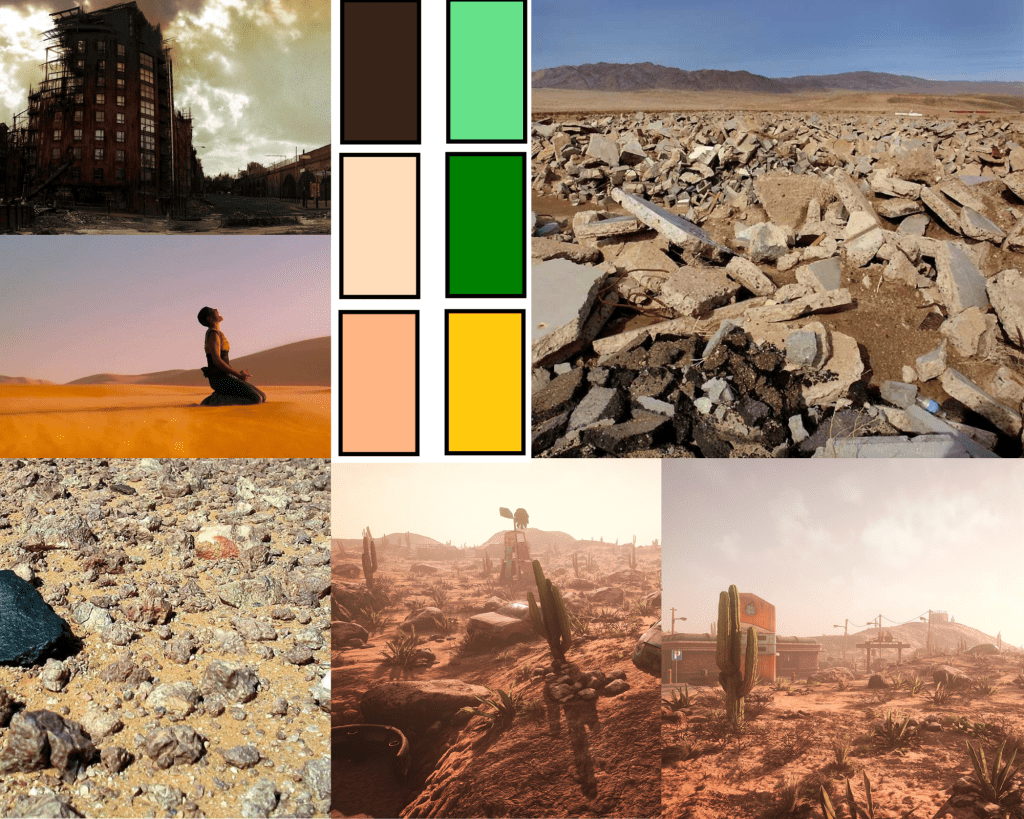
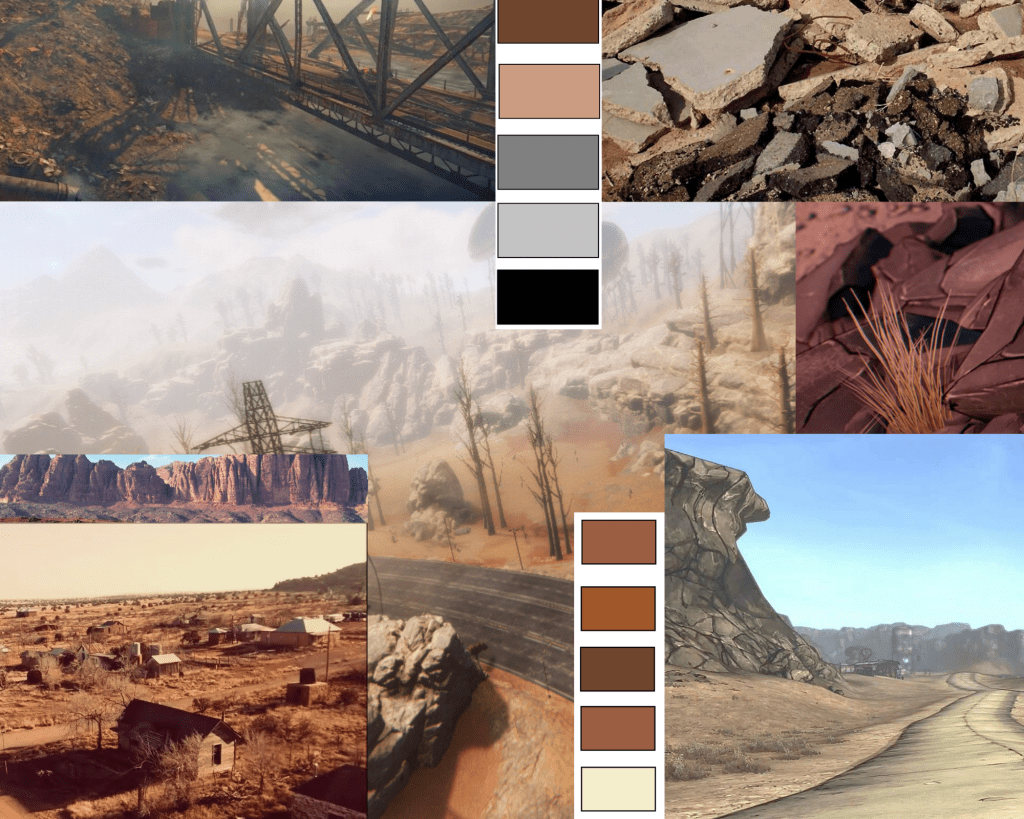
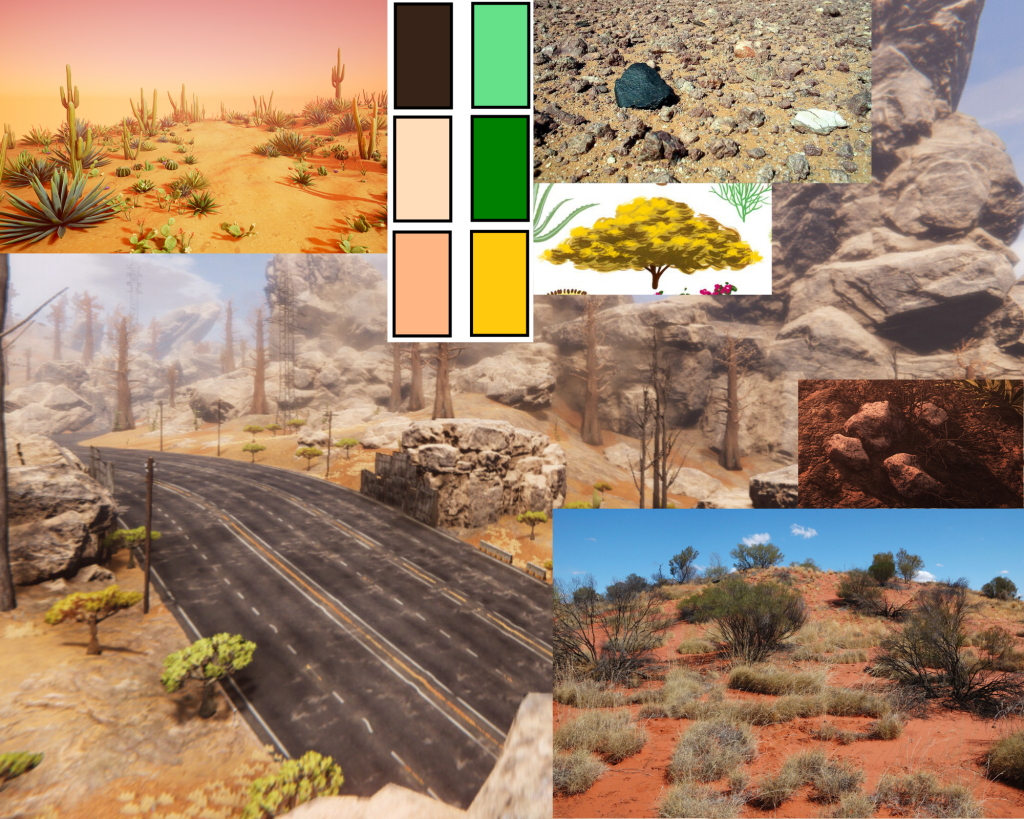
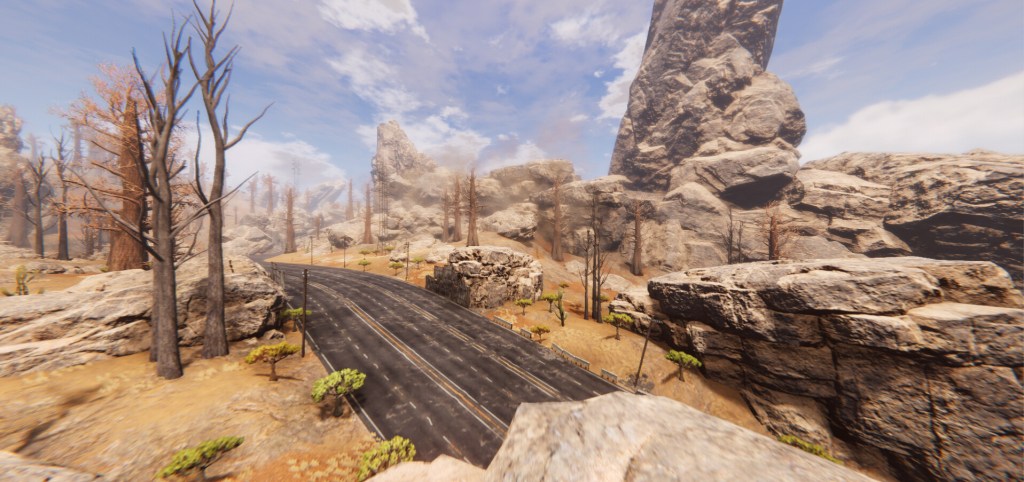
MOOD BOARD
Sketch
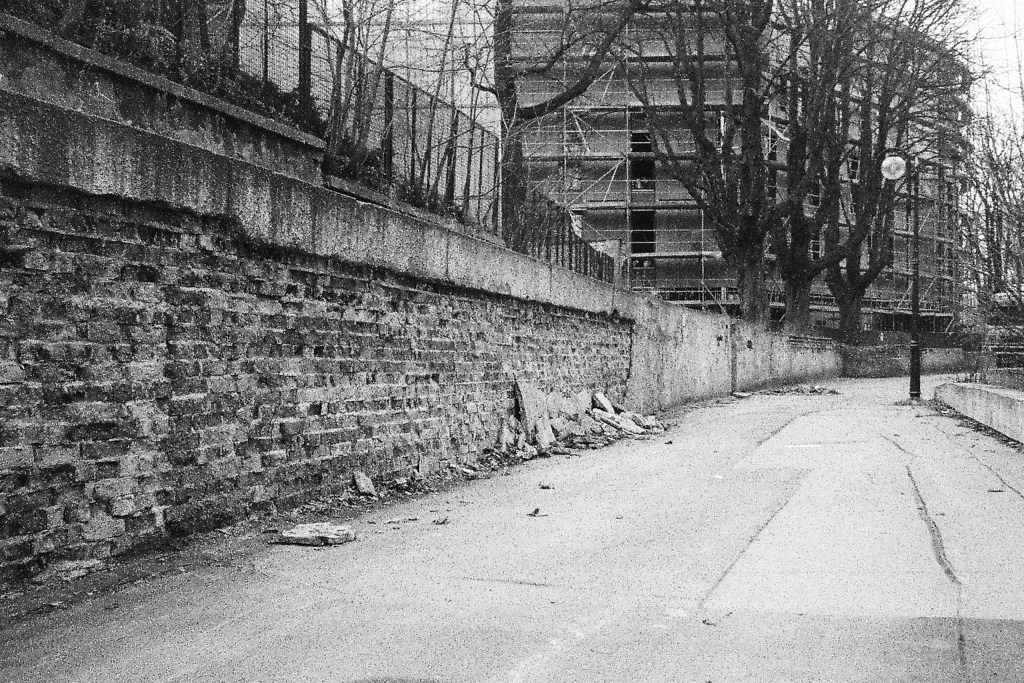
For my sketch I want to create something which shows a modern building or location before and after an event similar to the one which took place in the mad max movies.
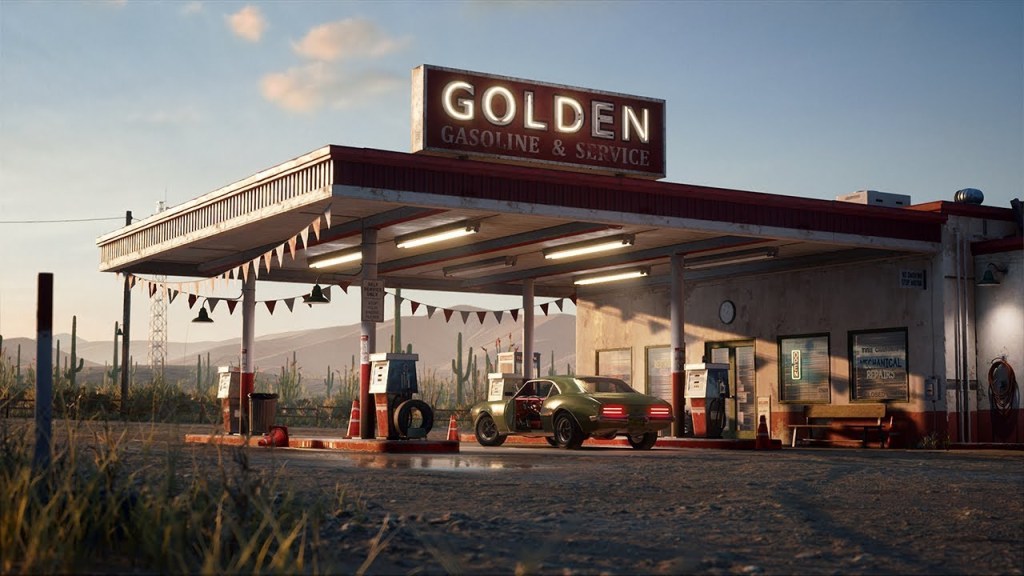
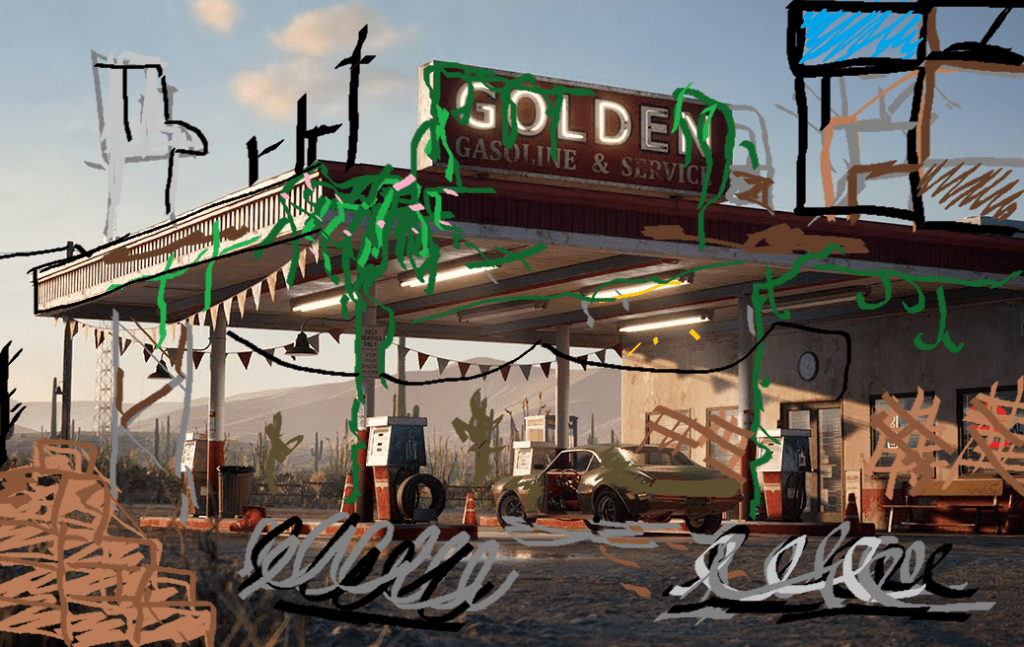
I chose to use a photo realistic render of a gas station so that when i sketch over it it doesn’t look as weird as if i were to use a real life image. I wanted to show the effects that abandonment would have. Because the original scene is set in a desert environment i first googled the types of plants found in a desert.
/cdn.vox-cdn.com/uploads/chorus_image/image/58677017/Plants_Guide_lead_image.0.jpg)
For this sketch I used the images above as inspiration for my scene. I combined the flowers from bottom left and the vine/long stem plants from the top left and middle. I will refer to these images when i am building my scene as the different cacti could come in useful for creating a variety of vegetation.
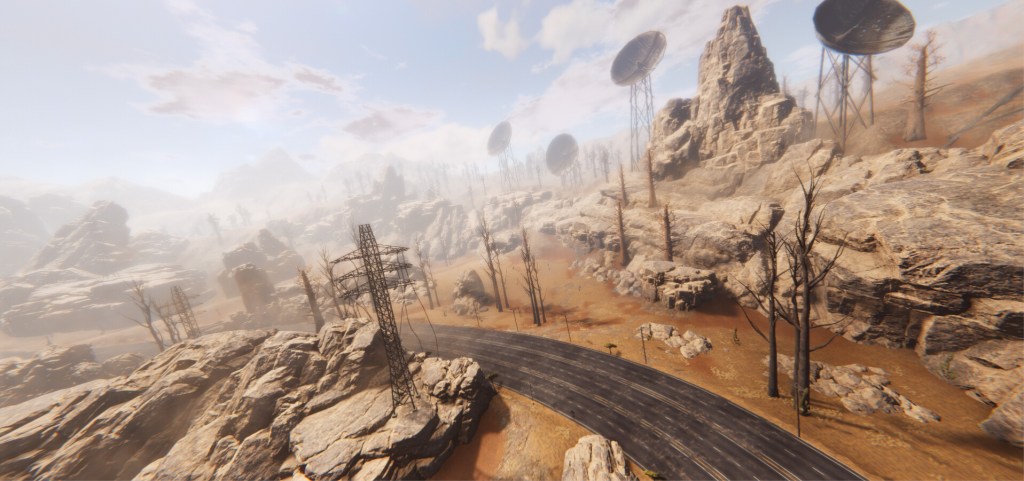
Existing Examples:
Since I plan on creating a 3D environment I will be using already existing examples a lot, mainly for inspiration but also so that i can see what works and what doesn’t before I have already modeled my environment, this is important as I will save me a massive amount of time wasted on trial and error in the early stages.
So far I have been using ArtStation and Pinterest to find existing examples. I prefer art station however, since its more geared towards game design and 3D environment renders.
When I was browsing ArtStation I wanted to find work which incorporated ideas from my mood boards.
The Proposal
My proposal is to create a 3D post apocalyptic desert environment inspired by the Mad Max franchise. I will be using the resources such as ArtStation like i have previously, although the resources I created for myself during this task, the mood boards and sketch will come in handing when referencing so that I can stay on track with my work.
Plan: Take screenshots of the development progress, add notes to journal whilst doing so.
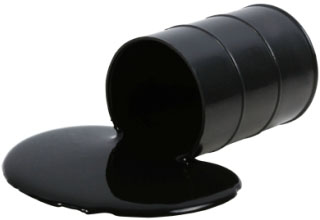
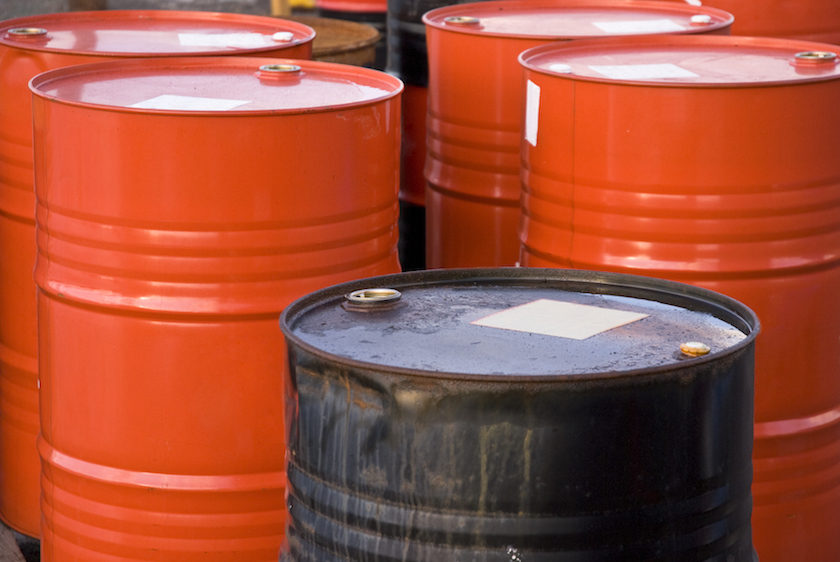
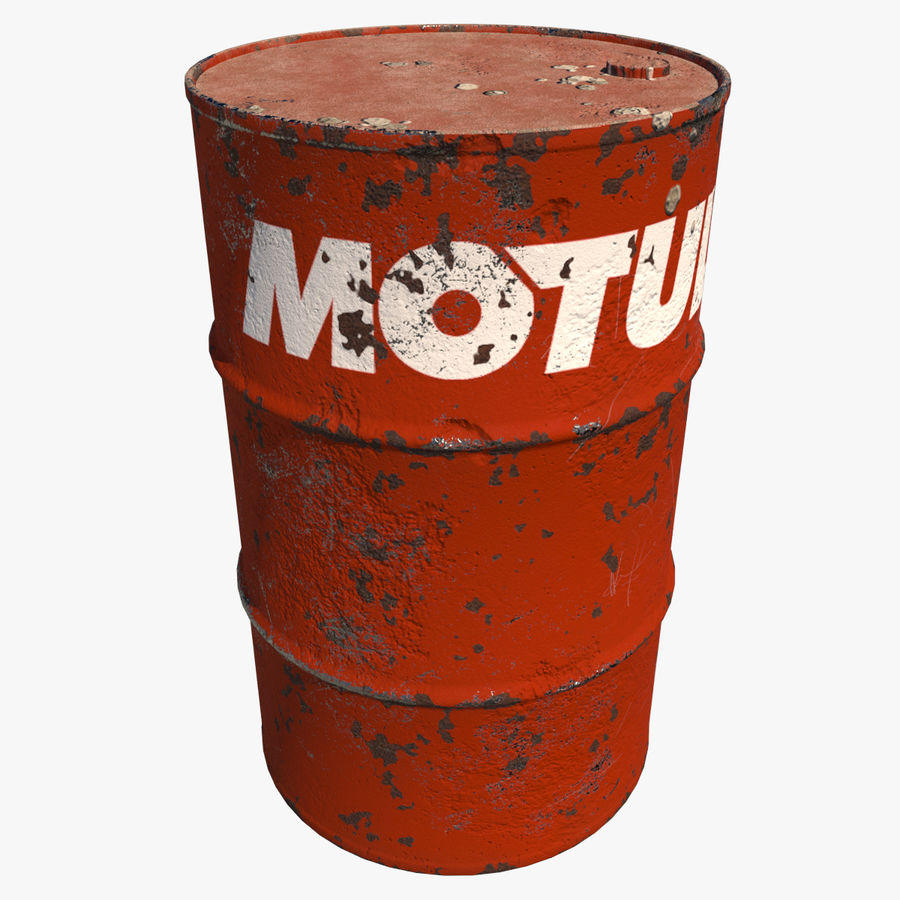
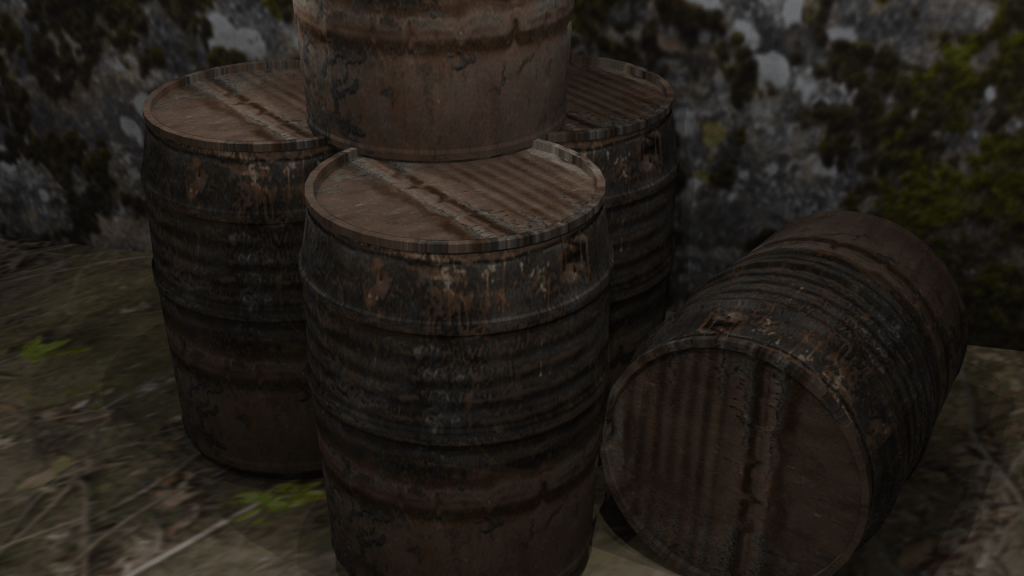
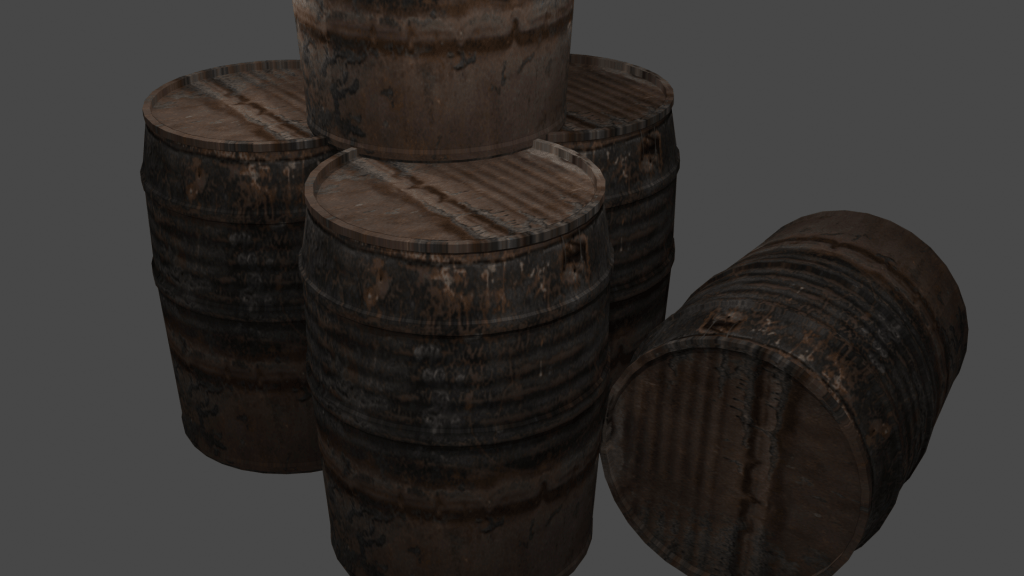
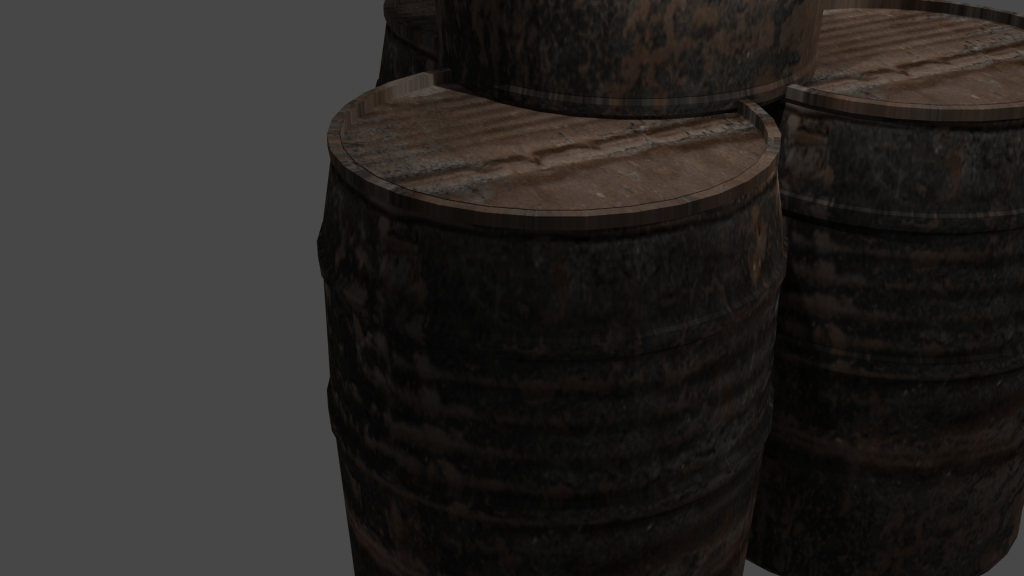
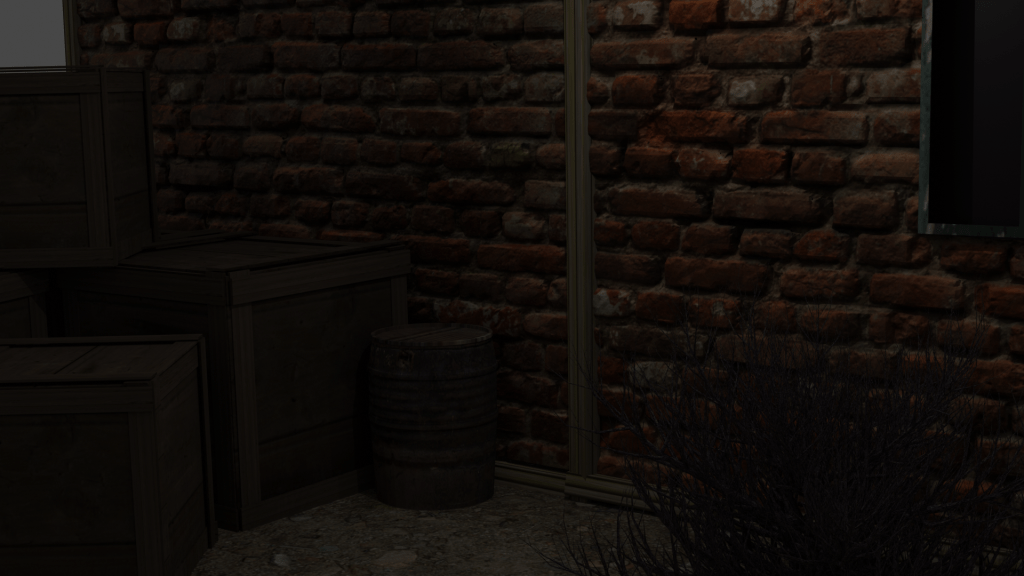
First model: Barrel
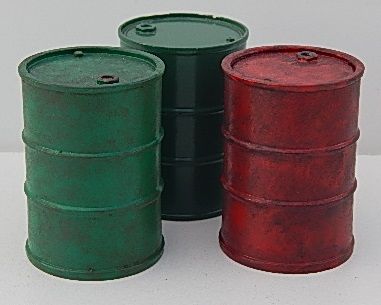
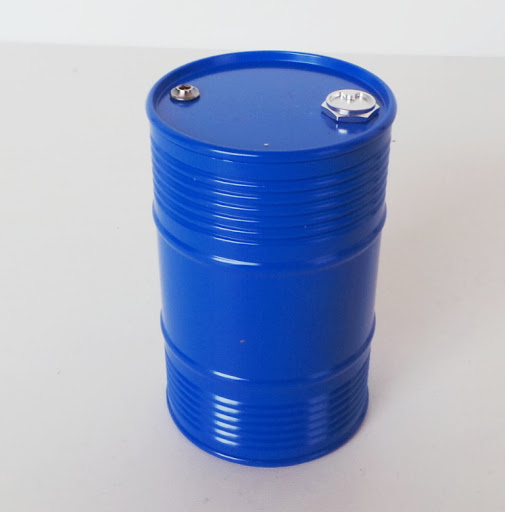
Reference images:
Modelling process:
Because I took so many screenshots whilst modelling I decided it would be better if i just compilied them into a video with the final render as the outcome.
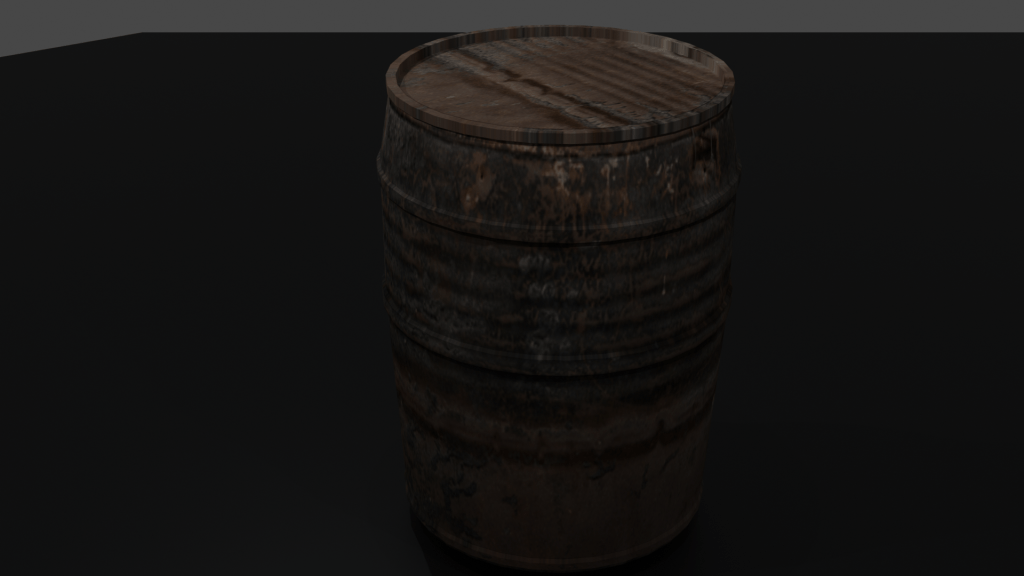
After I finished modelling the barrel I decided that it would be good if i could create a scene using just the barrels, similar to how assets would be displayed in asset stores.
Second model: Brick wall
Reference images:
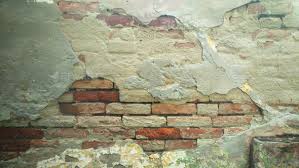
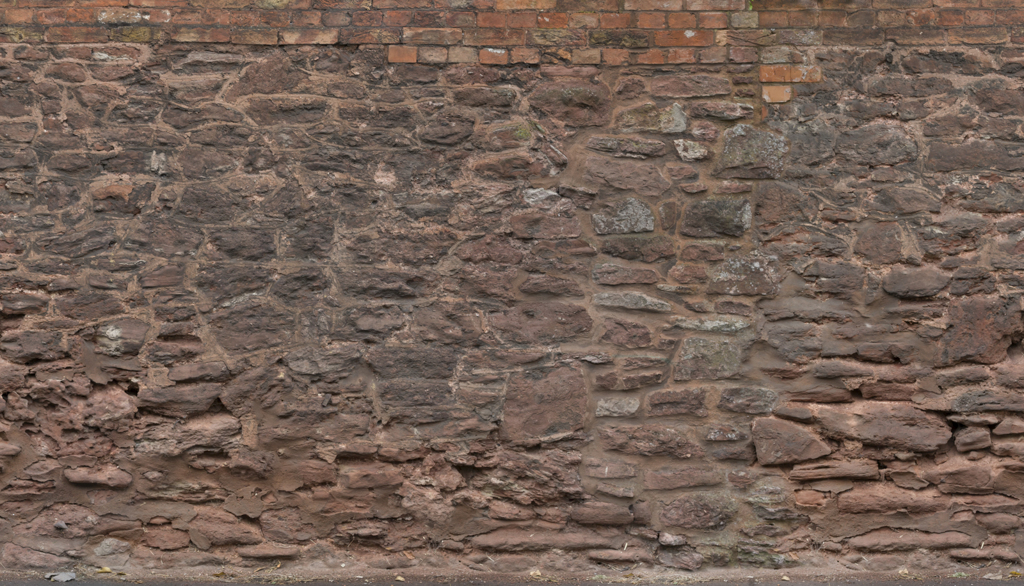
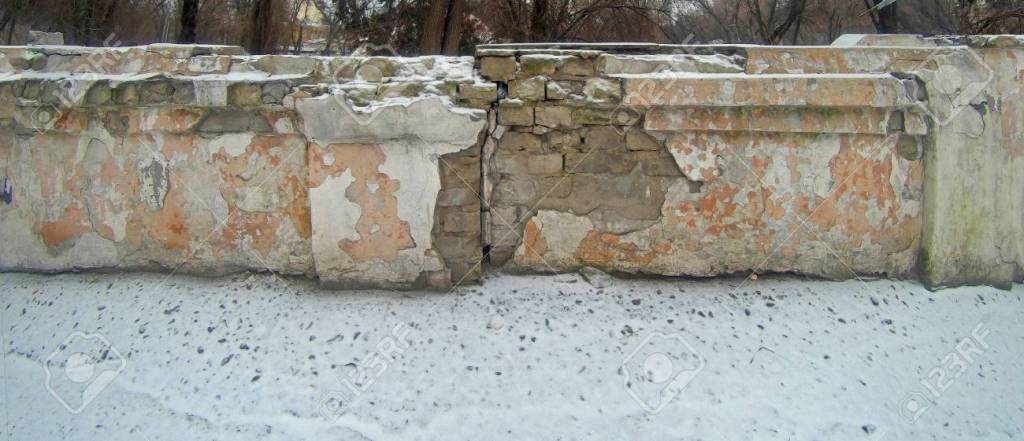
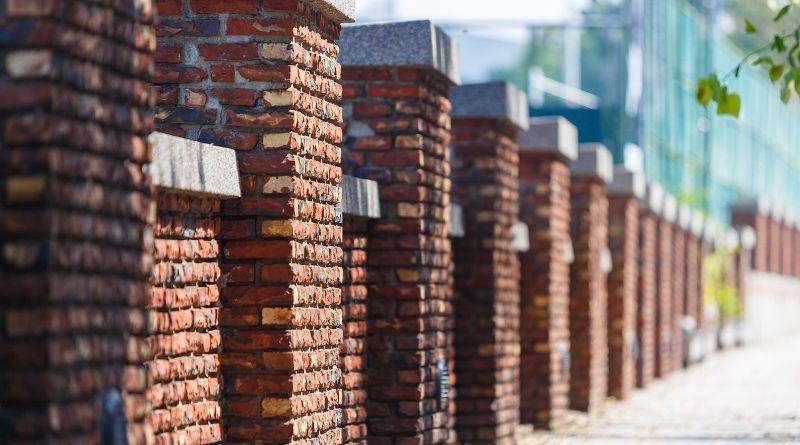
Once created and textured I want to use this model more for creating backgrounds for other models. For instance when I created my barrel models I used a free 2D texture for the background, so instead of that I want to create a 3D brick wall to use for backgrounds.
Creating a 3D textured asset
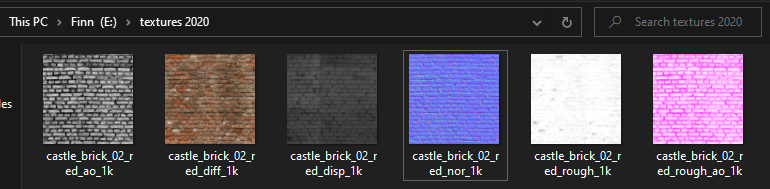
First I needed to find a website which has good quality, free 3D textures (I needed ones which had diffuse textures,a normal and a displacement . After doing some research online and looking a feedback I came across a Reddit post which was talking about Texture Heaven. https://www.reddit.com/r/blender/comments/amxdne/texture_haven_an_awesome_resource_for_artists_on/

As I mentioned earlier this asset was doing to have multiple uses, I plan to turn the wall into a building by modelling both a window a door next.
Brick wall render
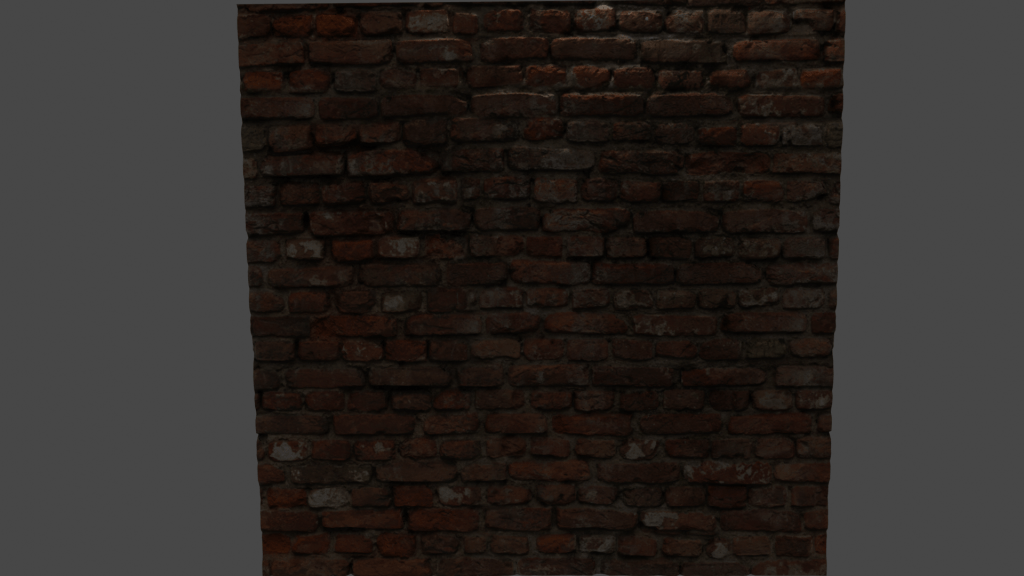
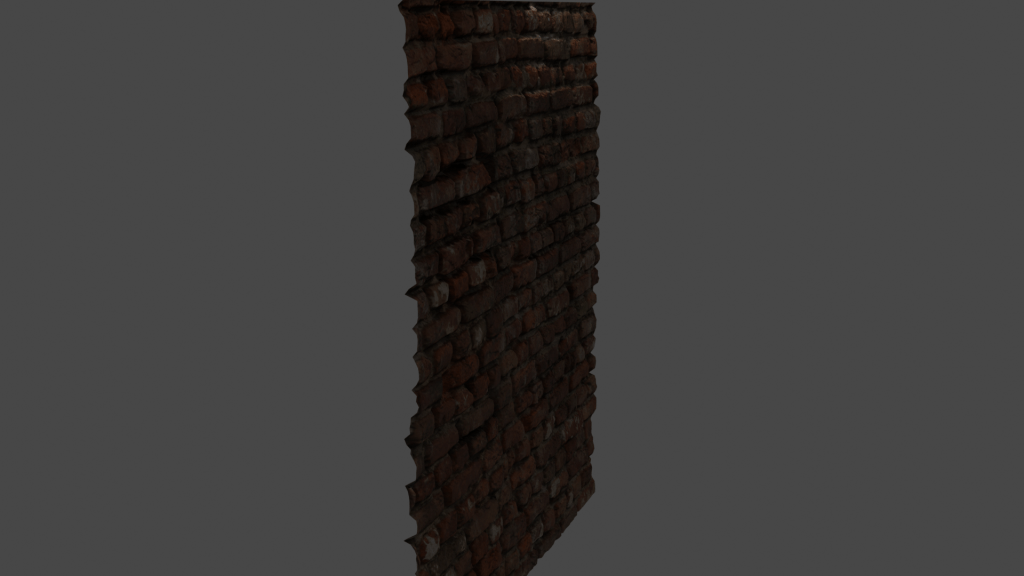
Initially I thought that getting this brick wall effect would’ve been achieved by me having to individually model each brick or having to use subdivision. However, because the textures I downloaded had the diffuse, displacement and normal texture. I was able to created the 3D effect using these and a displacement modifier.


Environment creation
The plan:
I want to turn the brick to create the side of building, then from this build the scene outwards.
Creating the building:
Reference images:
3rd model: window
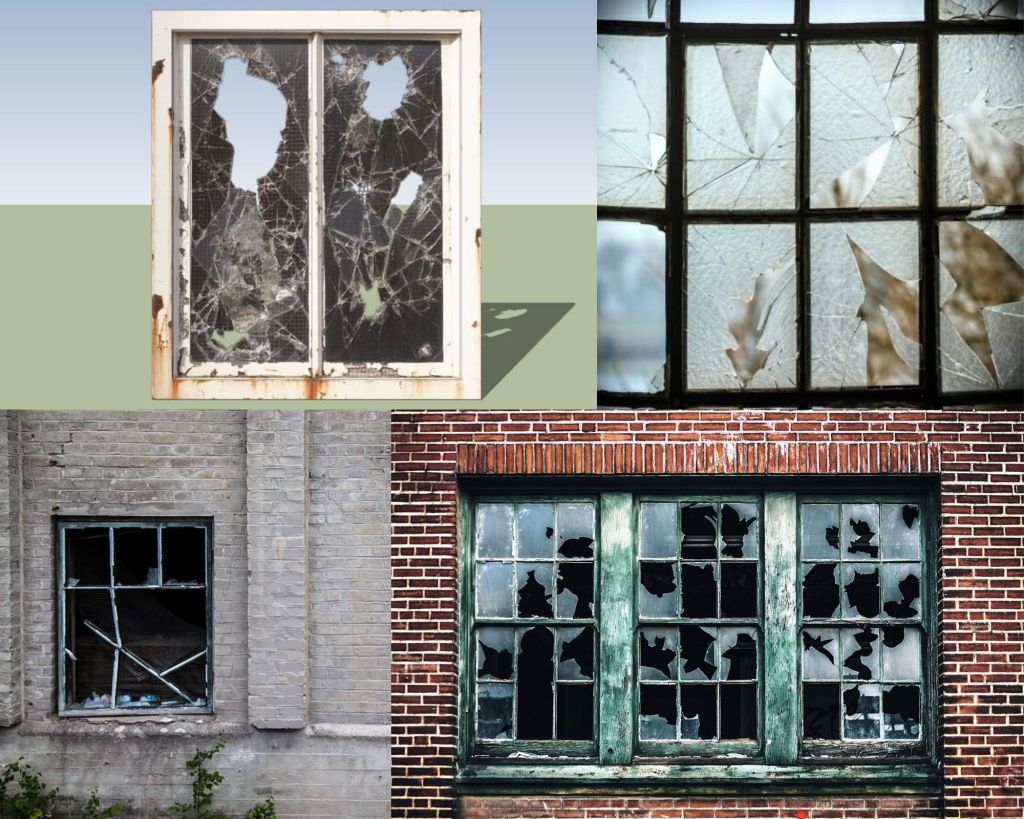
Since I was going to be using at least two windows, this meant that I couldn’t just model 1 and then copy and paste them since in my reference images all of the windows are unique in their damage. If however, i was modelling a modern building, copy and pasting windows would’ve been a good way to speed up time.
After my first render I learned that when i copied the original window i missed out on half of the model, therefore i had to make a small change to them until they looked good, through trial and error in between renders.


The render seen at the end of this video isn’t the final product, Im planning to have a “background” behind the windows so that it appears like cracked glass, giving the windows some more depth and realism, since right now they look like the window panes have been removed which isn’t the final look im going for.

I’m happy with how the window frame sits inside of the brick, almost like the bricks were built around the window.
Next asset: Crate
Reference images:
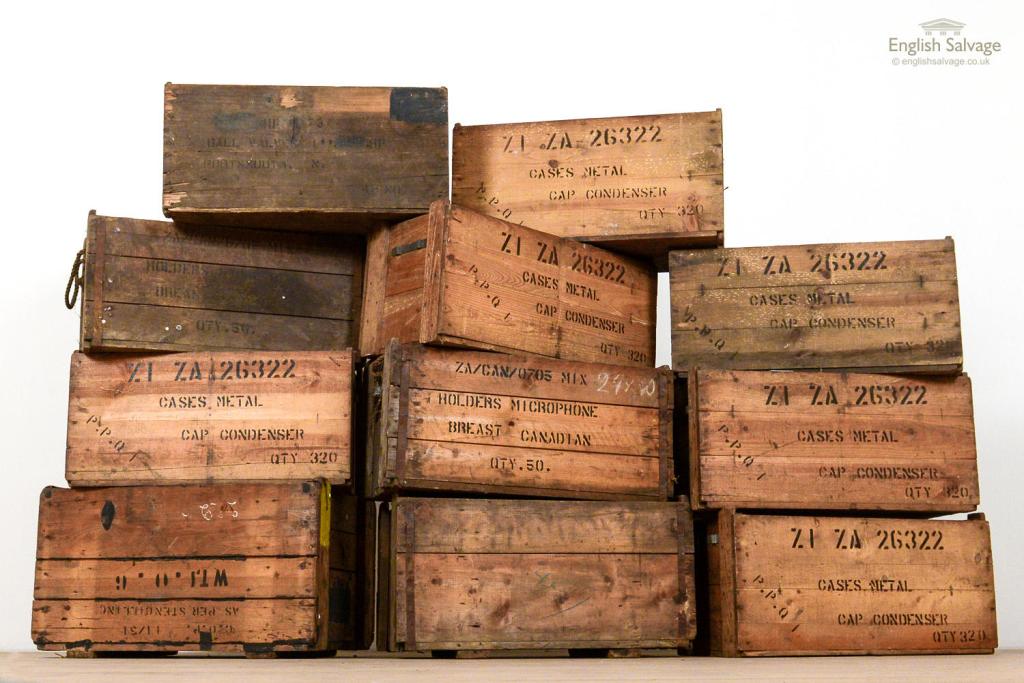
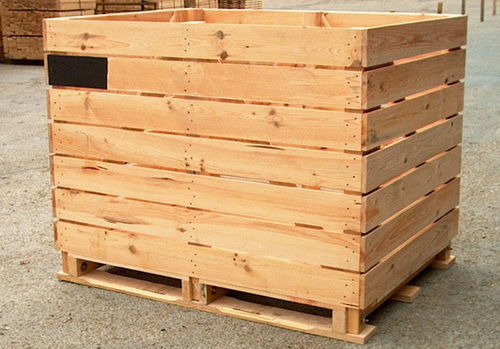
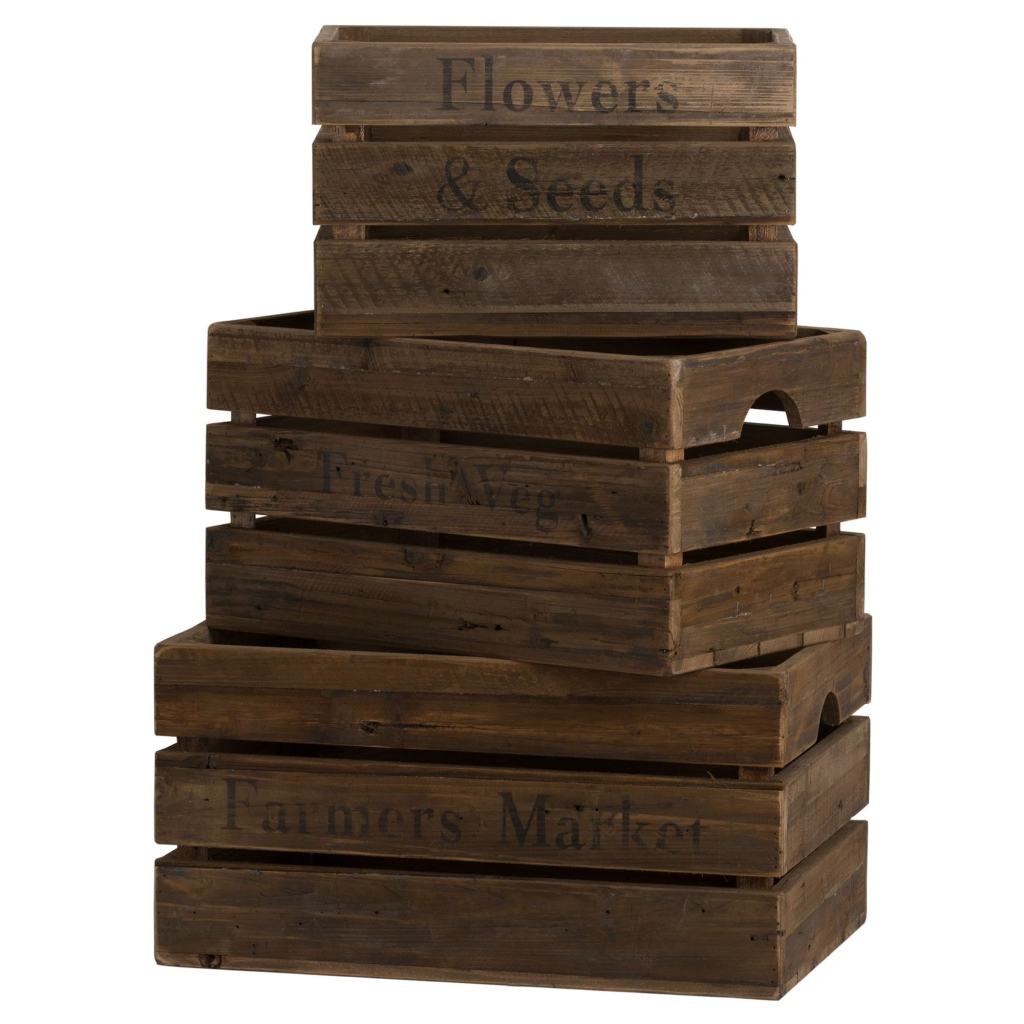
For this, I wanted to build the crate out of separate textured models, using the rectangles like pieces of wood to build the crates from scratch.
First i modeled the 3 separate planks, shown here.

I then used the planks to build up the shape of a crate from my reference images. I wanted them to overlap to look as tho they had all be assembled individually.
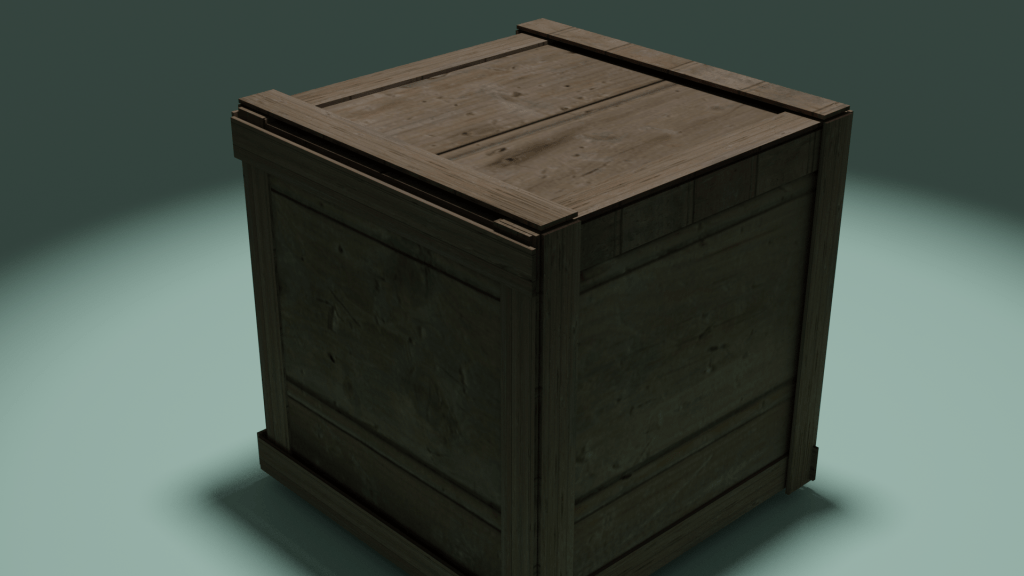
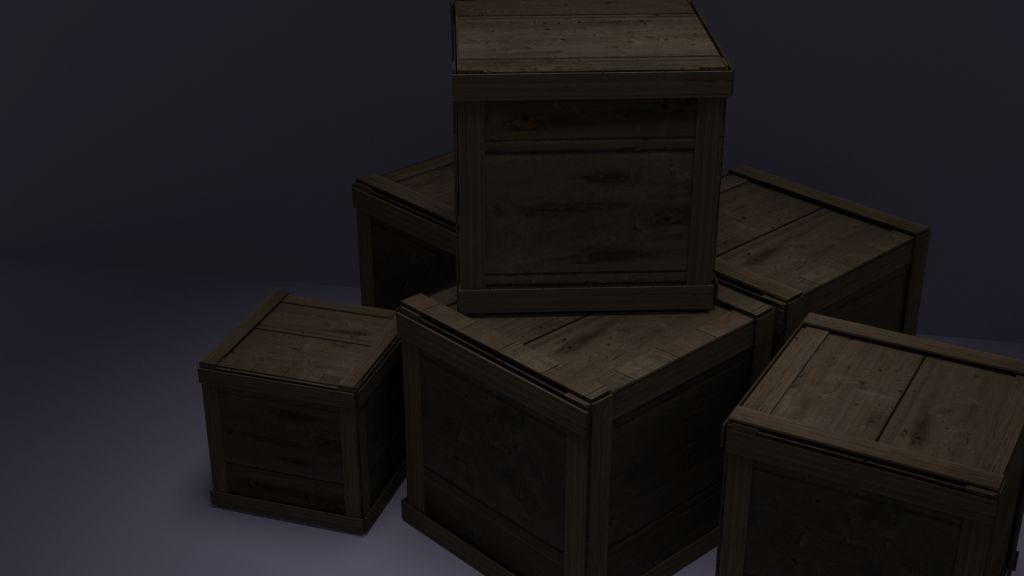
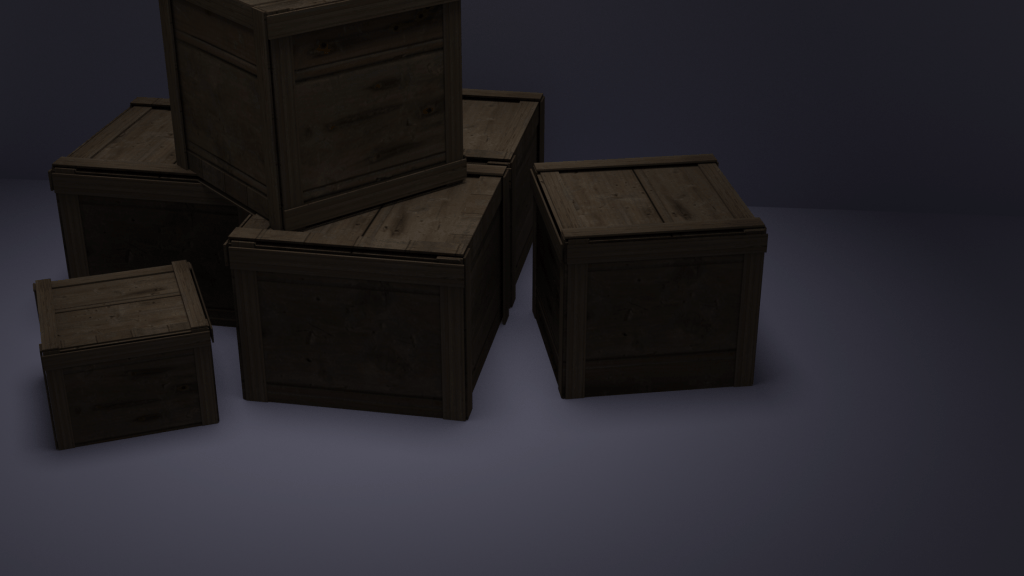
Once I was happy with the outcome of the model, I put them in my environment scene and displayed them so that they looked ‘natural’.
When I was creating the scene to make the render of just the crates I was experimenting with lighting to make the background have good contrast against my models. This got me interested in improving the lighting in my scene as whole since it can be hard to make out some of the assets in my renders.
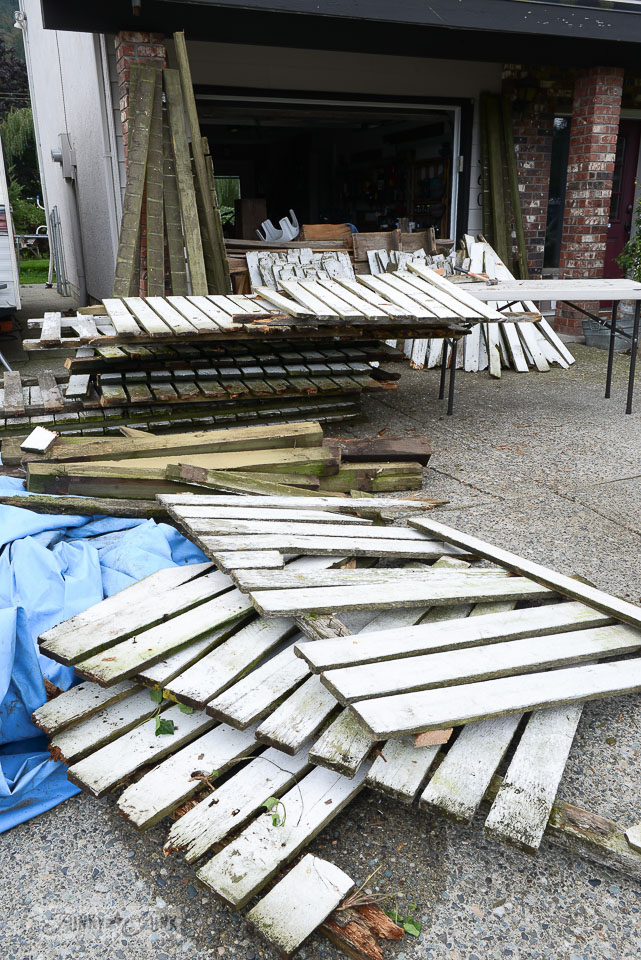
next asset: fence
Reference images:
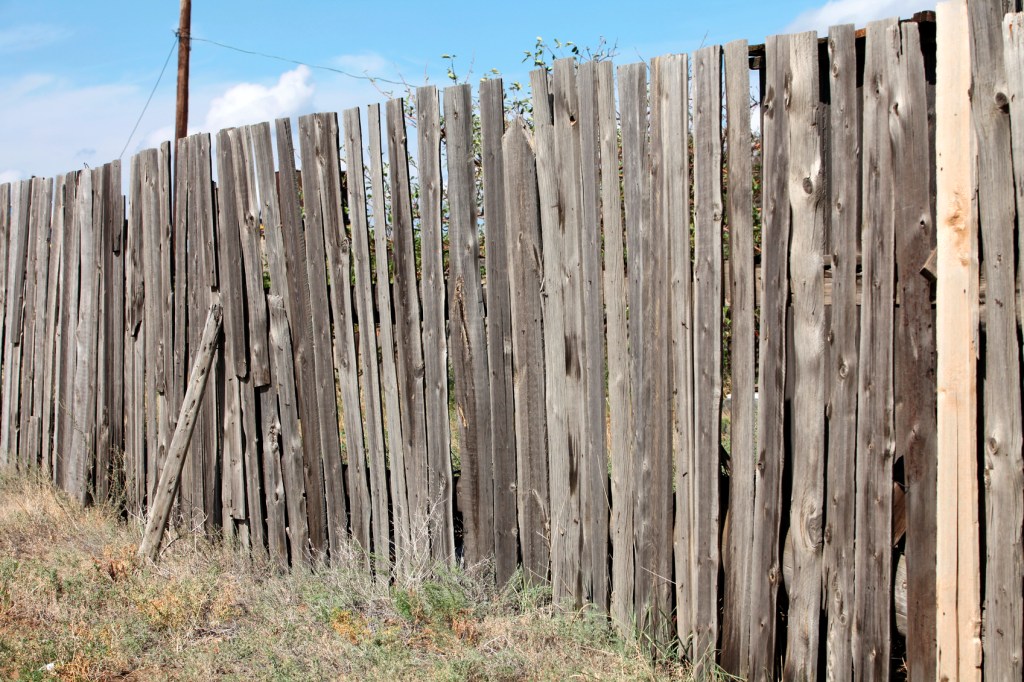

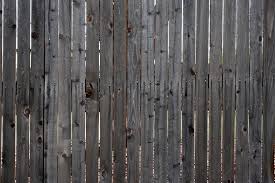
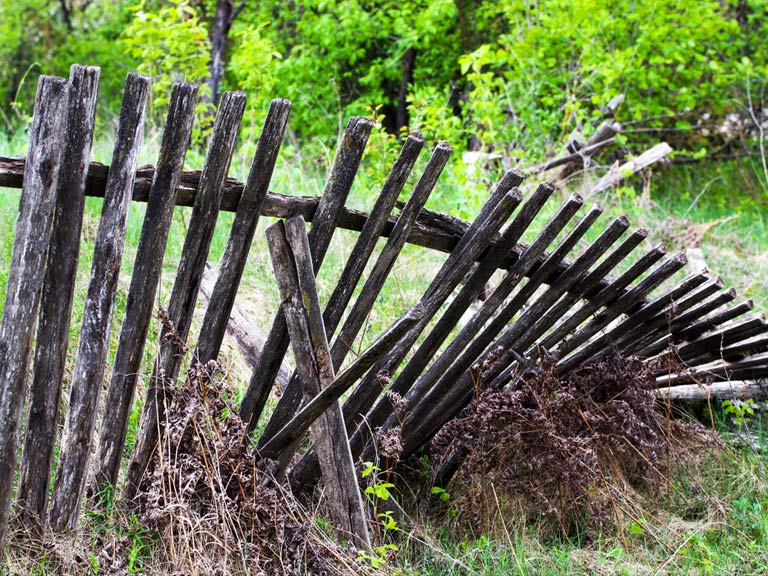
When looking over my scene, i noticed that the outside edges looked bare so i decided to fill the two buildings with a fence, created out of planks, similar to how i modeled the crates.
I found the textures for the fence panels online and made the blank rectangles appear as if they were naturally weathered down pieces of wood.


Here is what a segment of my environment looks like before any lighting through viewpoint shading using eevee render engine.

Now that I am happy with what i have modeled im going to implement lighting into my scene and
Since its an outside space, I am first going to try and see how using the sun tool would work.

As I predicted, because its an outside environment all I had to do was tweak some settings and angle the sun and it gave me the effect I was looking for.
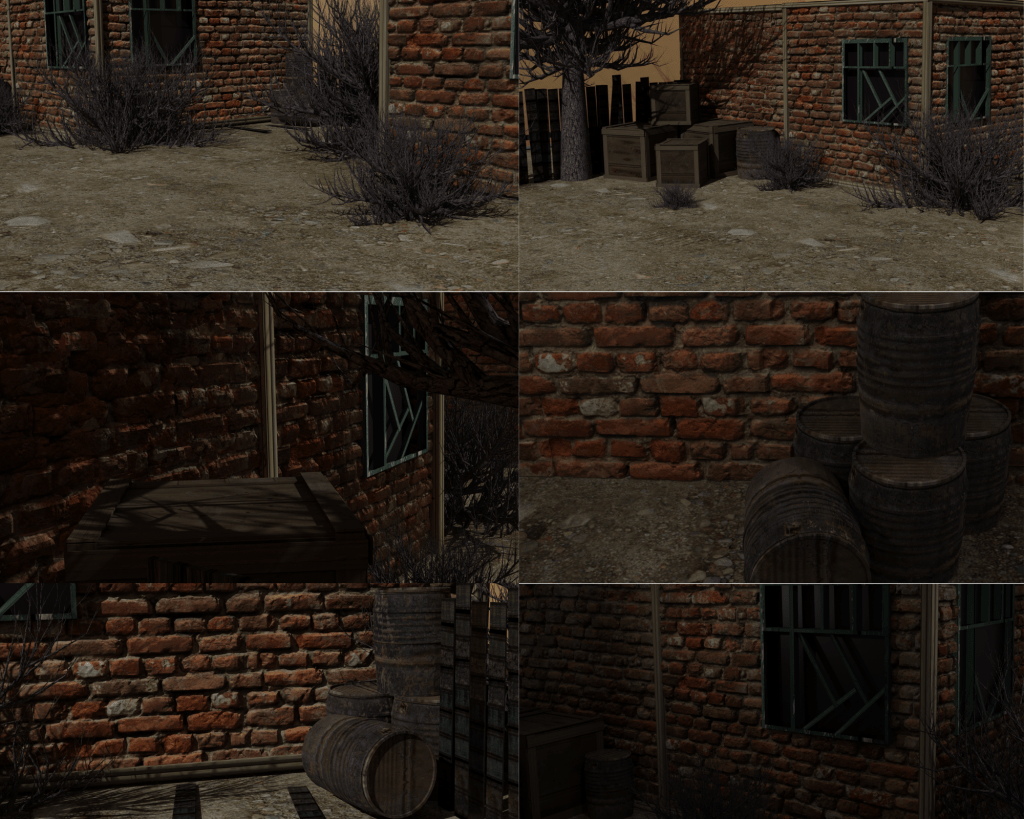
FINAL OUTCOME: